
Ariel Atom 2.
The coilover guide.
Shop the coiloversStart with the chassis and the suspension fitted today. Compare Nitron R1 and R3 for your Atom 2, including its engine version, wheel sizes and any later changes.
The Honda-powered second generation.
The Atom 2 brought Honda power to Ariel’s roadster. Years of servicing and modifications can separate a car’s current suspension from its original build, so send damper labels and clear photographs as well as the chassis details.
Nitron lists Atom R1 and R3 kits under the AR010 reference without a generation or mounting breakdown. The kits below therefore need an application check. Road and Track selections describe the setup; the proposed assemblies and fittings still need to match your car.
Ariel dates the Atom 2 to 2003–2007. It replaced the original Rover-powered Atom with a Honda Civic Type R K20 engine and introduced further design changes. A supercharger option followed in 2005. The Atom 3 arrived in 2007 with a revised chassis, so registration year alone may leave a changeover car unidentified.
The limited 2006 Atom 2 160 used a 2.0-litre Type S engine. Ariel’s factory listing for one restored example also records single-adjustable Bilstein dampers and different wheel and tyre equipment. Identify a 160 explicitly when asking for parts; its name and factory specification differ from the regular Type R-powered car.
Supply the build information and original market alongside any engine conversion, supercharger or replacement suspension. Those details help the fitter establish what is on the car before confirming the new kit and its spring specification.
Start with your Atom 2.
Confirm the chassis, year and existing suspension before choosing your setup.
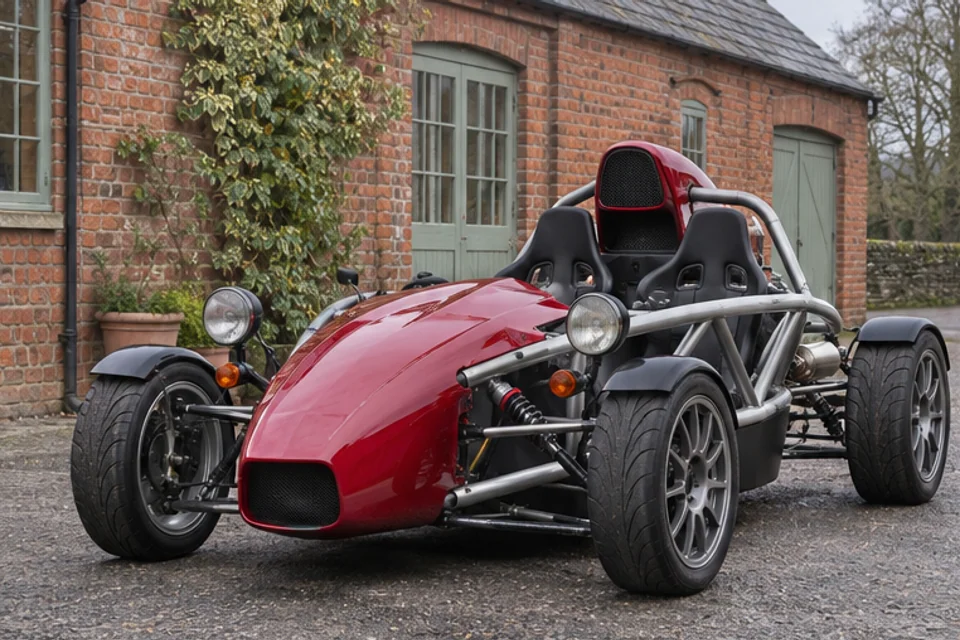
Honda Type R-powered Atom 2
Give the chassis identification, build year and original market, with photographs of the front and rear assemblies. Include the current damper part numbers and any available build sheet. Have the AR010 application checked against that equipment.
Check my Honda-powered Atom 2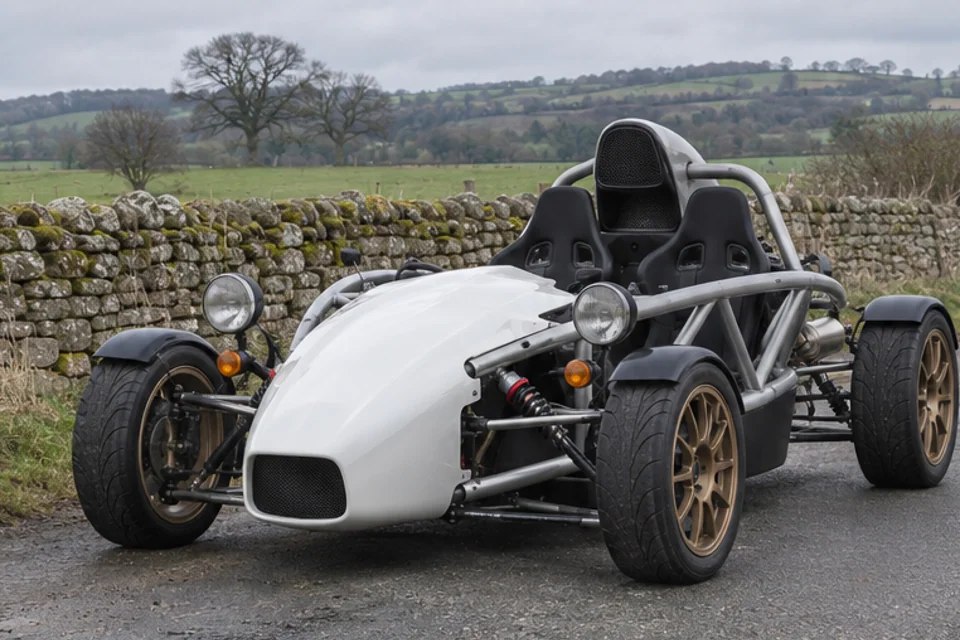
The 160 and changed specifications
Identify a Type S-powered 160 by its build records. List any replacement engine, dampers, springs or mounting parts, including work done by a previous owner. A factory example gives useful context, but photographs of your own car are needed for the parts check.
Check my 160 or converted car
Supercharged and circuit-prepared cars
State whether the supercharger was factory fitted or added later. Send wheel and tyre sizes, aero changes and details of altered suspension arms or attachments. Agree the required springs, travel and fittings with the builder before choosing a setup.
Discuss my modified Atom 2What do you want
from the car?
Road miles, circuit weekends or a car built around the lap. Start with how you drive.
Allow for the surfaces and access routes you use.
Read the buying advice
Talk through R1’s combined compression and rebound adjustment with the fitter. Include uneven roads, speed humps and the load normally carried when agreeing springs and running height. Check travel and cycle-wing clearance before settling on the baseline settings.
- Describe regular routes and load
- Check usable travel and clearance
- Keep a written starting setup
Choose controls you can use and record consistently.
Read the buying advice
Compare R1 and R3 around the tyres, road mileage and setup help available. R3 provides separate rebound, low-speed compression and high-speed compression controls. Agree an initial setting for each control and keep changes with the tyre-pressure and alignment records, including a setting for the drive home.
- Include the drive to and from events
- Record tyres and alignment
- Agree how adjustments will be logged
Specify the suspension alongside the rest of the build.
Read the buying advice
Give the builder the tyre, aero and weight specification, plus details of any changed suspension parts. Confirm the proposed R3 assemblies, springs and reservoir arrangement, with space for adjustment and any hoses. A Track selection still needs that application and installation check.
- Declare tyres, aero and weight changes
- Identify altered suspension hardware
- Confirm reservoir and adjuster access
A factory example of the rear coilover.
The rear spring surrounds the damper on a standard 2006 Ariel Atom 2 160.
Component layout only. Mounts, dimensions and adjusters vary by kit.Ariel’s photographs of its restored 2006 Atom 2 160 show a rear spring surrounding an angled damper inboard beside the engine, behind the seats. The component drawing describes that spring-and-damper arrangement. Identify the assemblies and attachments on your own car before ordering replacements.
Have the fitter confirm the required damper length, travel, springs and end fittings against the existing suspension. Include any altered arms, joints or mounting points in the check, and agree how the adjusters and any reservoirs will be reached once fitted.
Read about spring preload and ride height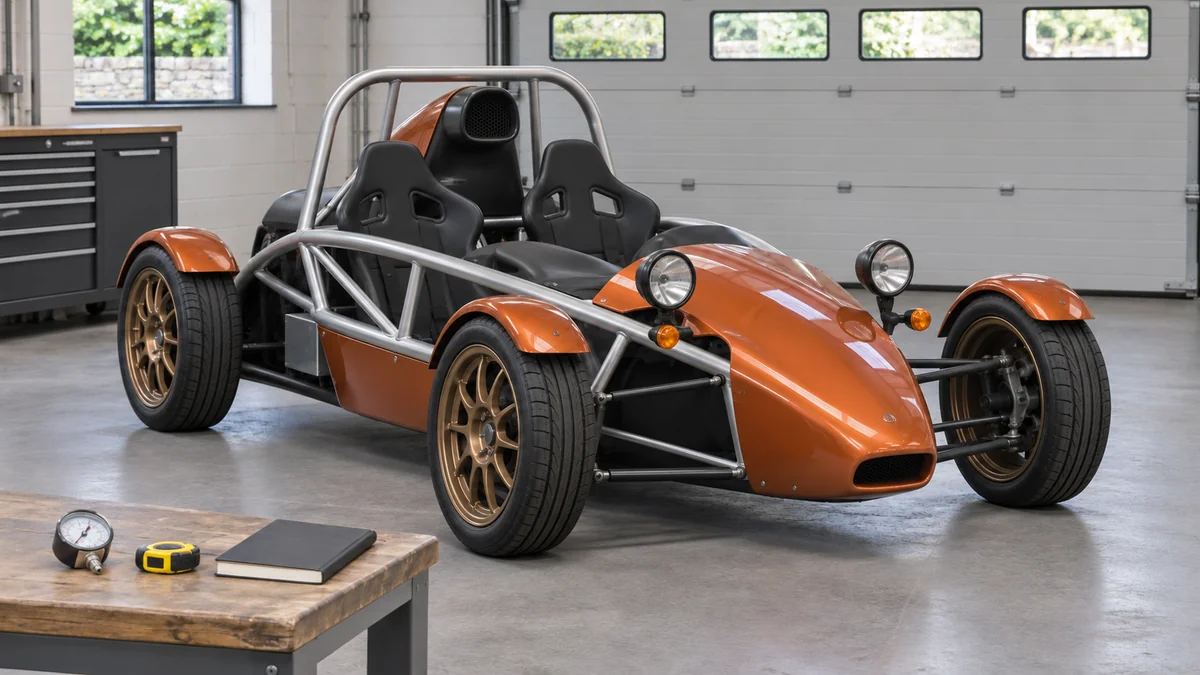
Identify wear and previous changes first.
Photograph the damper labels, springs, attachments and any reservoirs at both ends of the car. Gather the original build sheet and later invoices where available. Ask the specialist to inspect joints, rod ends and attachments for wear before deciding how much of the existing equipment can be retained.
Confirm wheel widths, offsets, tyres and spacers, then have clearance checked through steering and suspension movement. Agree running height, travel and adjustment access with the fitter. Include fitting, alignment and subsequent checks in the plan, and keep the final settings with the car’s records.
Wheels, tyres and cycle wings
Record both axles’ sizes, widths and offsets, including spacers. Have clearance around the cycle wings and suspension checked through the car’s actual steering and travel.
Engine and supercharger changes
Identify the current engine and whether forced induction was fitted at the factory or later. Include added or removed equipment when the specialist agrees the suspension specification.
Dampers, arms and attachments
List replacement components and changed mounting points. Supply labels and photographs so wear, adjustment access and the proposed fittings can be checked together.
Wings and event preparation
Describe aero, tyre and weight changes to the builder. Confirm the intended event’s requirements before agreeing the springs and damping for that use.
The current Atom 2 range.
Compare the controls and hardware included in each range.

R1 combines compression and rebound adjustment in one control, without a remote canister. R3 offers independent rebound, low-speed compression and high-speed compression adjustment. The AR010 listings provide Road and Track setups, with custom springs handled by enquiry. Confirm the exact Atom 2 assemblies, springs, end fittings and any R3 reservoir installation; the current UK tables do not divide Atom applications by generation or mounting arrangement.
View Nitron Atom 2 kitsFind your Atom 2 coilovers.
Prices include UK VAT. Choose an application and brand, then open a kit for its current options and availability.
2 listings
Match the engine, body style and axle-load limits on the product page before ordering.
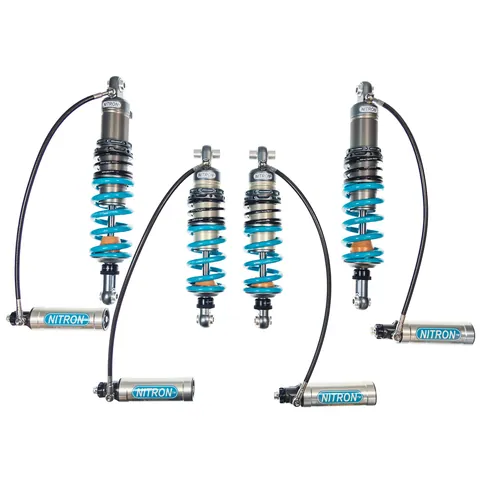
Nitron · NTCAR010R3_
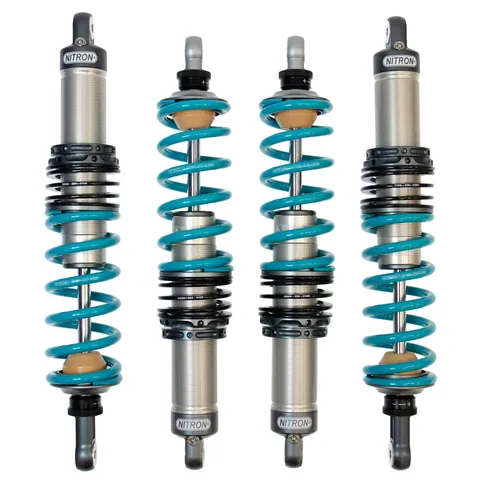
Nitron Ariel Atom R3 Coilover Suspension Kit
Check the exact application
Nitron · NTCAR010R1_
Nitron Ariel Atom R1 Coilover Suspension Kit
Check the exact application
All Atom 2 kit links and part numbers
Before you order.
Identify your car
Provide the chassis identification, build year and original market; identify a 160, engine conversion or supercharged car.
Match the kit
Photograph the current dampers, springs, attachments and reservoirs, with readable part numbers where available.
Check what’s included
Have the proposed AR010 assemblies, springs, travel and end fittings confirmed for the equipment on this car.
Check your modifications
List wheels, tyres, spacers, cycle wings, aero and any altered suspension arms, joints or mounting points.
Plan fitting
Agree fitting, alignment, setup records and rechecks, and confirm current supply timing before booking the work.
See what the adjustments do.
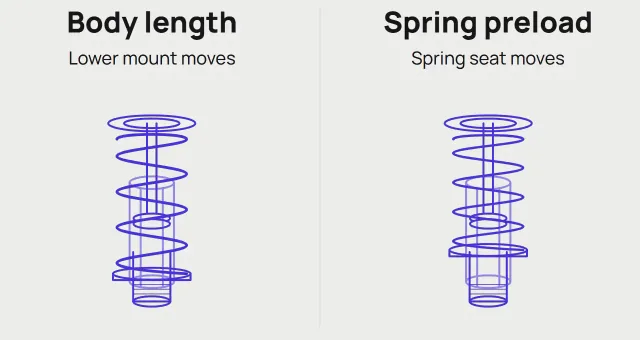
Ride height and spring preload
Understand the two adjustments before choosing a lowering range.
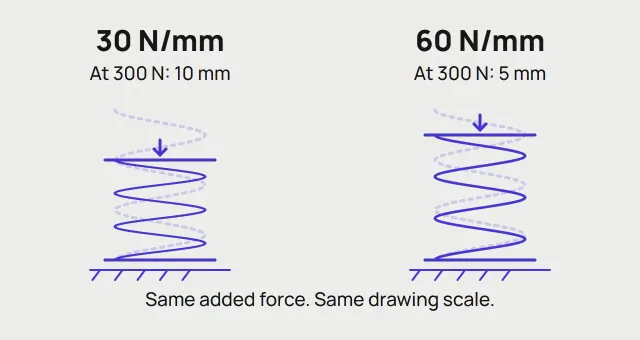
What spring rate tells you
Compare force and movement, read the units and choose a spring with the damper in mind.
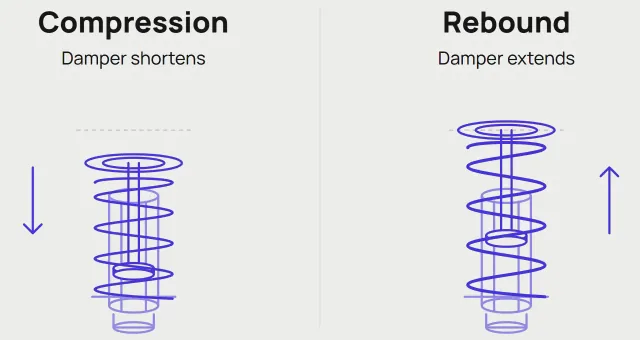
Damping adjustment explained
What combined, two-way and three-way controls change.
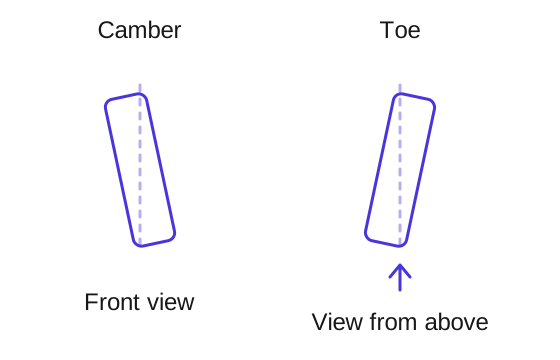
Alignment after changing ride height
Set the intended height, check the geometry and keep a useful record of the result.
Questions about Ariel Atom 2 coilovers.
Check the details before choosing your kit.
How do I identify an Atom 2 near a generation change?
Ariel dates the Atom 2 to 2003–2007, between the original Rover-powered Atom and the revised Atom 3. Send chassis and build information as well as the registration year, especially for a car near either boundary. Include the original market and current engine.
What is different about the Atom 2 160?
Ariel describes the limited 2006 160 as using a 2.0-litre Type S engine, with wheel, tyre and detail changes from the standard Atom 2. Identify that version explicitly and send its current suspension details when asking for a replacement kit.
Can I identify the dampers from the Atom 2 badge?
Photograph the labels and fittings on the car. Ariel lists single-adjustable Bilstein dampers on its restored 2006 Atom 2 160 example, but that individual car does not establish the equipment on every Atom 2 or any later replacements.
Does the rear spring surround the damper?
It does on the restored 2006 Atom 2 160 shown in Ariel’s factory photographs: the angled assembly sits inboard beside the engine behind the seats. Check the actual assemblies and attachments on your car so the proposed replacement can be specified correctly.
What adjustment does Nitron R1 offer compared with R3?
R1 adjusts compression and rebound together through one control. R3 separates rebound, low-speed compression and high-speed compression. Choose with the person setting up the car, taking account of tyres, intended use and how settings will be recorded.
Do Road and Track options establish Atom 2 compatibility?
They select a setup for the kit. The UK AR010 tables name Atom without a generation or mounting breakdown, so the chassis, current suspension, supplied assemblies and spring requirements still need an application check.
Where should R3 reservoirs be installed on my car?
Confirm the reservoir arrangement supplied for the exact application with the fitter. Agree mounting space, adjustment access and any hose routing against the equipment on the car before installation. General R3 information does not provide an Atom 2 installation plan.
When should I book fitting for a backordered kit?
Confirm current supply timing and the agreed specification first. An orderable backorder does not give a dispatch date. Allow for the fitter’s inspection, installation, alignment and subsequent setup checks when arranging the work.
Let’s talk suspension.
Find your Atom, then send its chassis details and photographs of the suspension fitted now. Include the engine version, wheel sizes and any known changes.