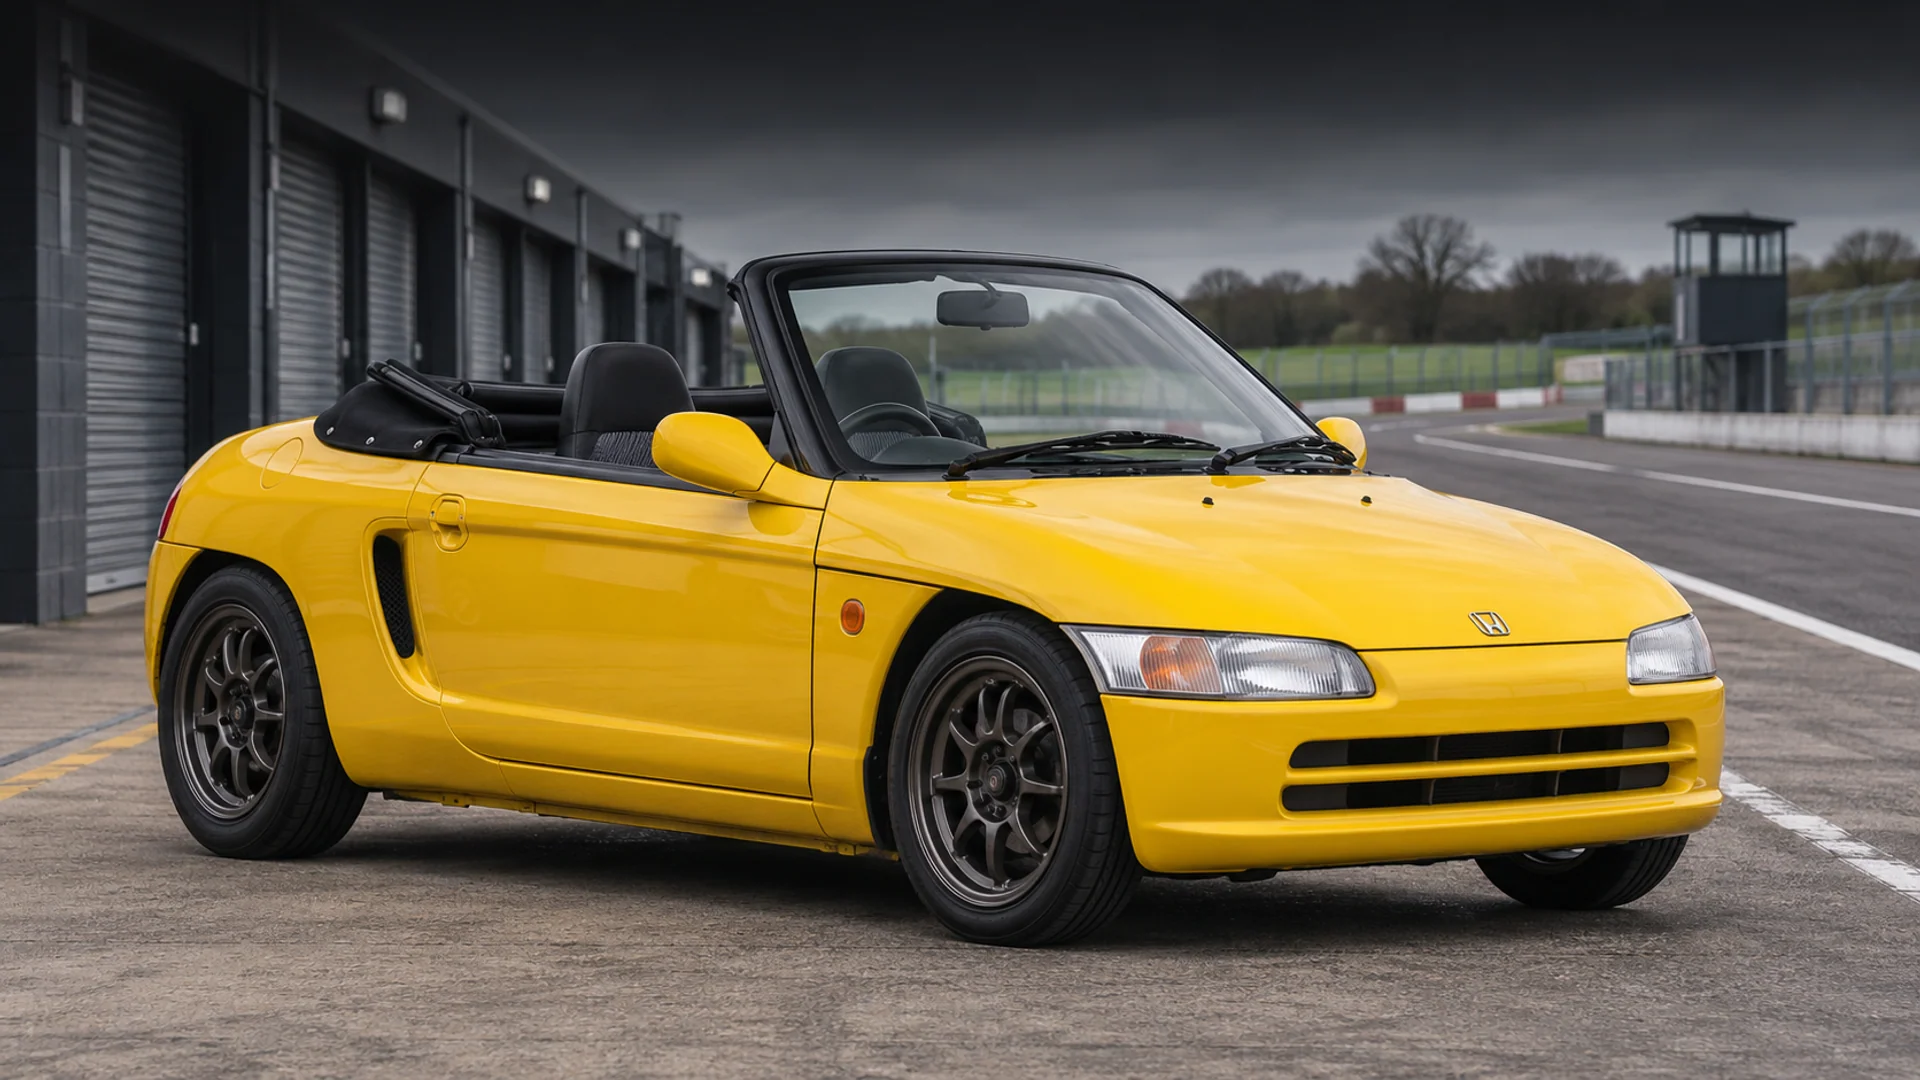
Honda Beat PP1.
The coilover guide.
Shop the coiloversKeep the Beat light on its feet. Match the PP1 application, consider the supplied mounts and build the setup around its different front and rear tyres.
Small wheels, a mid-engine layout and an open roof.
A Beat gives you plenty to enjoy on a modestly paced road. We'd keep enough suspension travel for bumps and choose wheels that suit the small car, then set the alignment at the final height. A large drop can make clearance and everyday use harder without improving the way it drives.
The current listing is BC Racing's BR RH kit. It has adjustable damping and pillowball top mounts, with different front and rear spring rates. Those are useful details to discuss before ordering, especially if the car spends most of its time on the road.
Honda announced the Beat in May 1991 as a two-seat kei convertible with its engine behind the seats and rear-wheel drive. The naturally aspirated 656 cc three-cylinder engine used individual throttles and a five-speed manual gearbox. Honda's archive records the model ending in 1996.
The original suspension uses front struts and a dual-link strut arrangement at the rear. Honda paired 13-inch front wheels with 14-inch rears, using 155/65 R13 and 165/60 R14 tyres respectively. Keep that deliberate front/rear distinction in mind when considering a new wheel and tyre package.
The Beat retained an owner following after production finished. Honda Access marked its twentieth anniversary in 2011 with a limited accessory programme that included sports suspension. That historical package is separate from the BC Racing kit listed here; its settings and parts should not be assumed to apply.
Model history: Honda: Beat launch, May1991Honda: archived Beat rangeHonda Access: twentieth-anniversary accessories.
Start with your Beat PP1.
Confirm the chassis, year and existing suspension before choosing your setup.
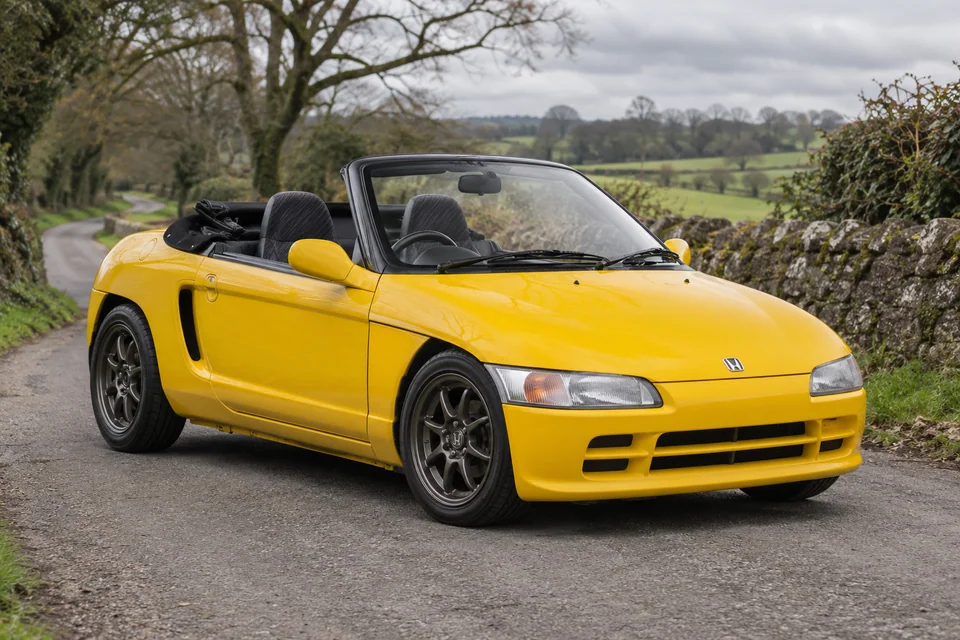
1991–1996 Beat: PP1
BC Racing A-08 identifies the rear-wheel-drive PP1. Our BCR-A-08 listing has the BR RH configuration with pillowball top mounts, and standard springs of 3 kg/mm front and 4 kg/mm rear. Confirm the chassis plate, existing suspension and any wheel changes. An import registration date may differ from the car's build year.
View the PP1 kitWhat do you want
from the car?
Road miles, circuit weekends or a car built around the lap. Start with how you drive.
Choose a usable height and consider how the pillowball mounts will feel in a small open car.
Read the buying advice
The listed BC Racing BR RH kit provides height and damping adjustment for the PP1. Its pillowball mounts can transmit more noise and vibration than compliant rubber mounts. Talk through that trade-off and your existing suspension before ordering, then follow the kit's instructions for height, preload and starting damping settings.
- Keep travel for uneven roads
- Consider pillowball mount noise
- Check both front and rear tyre sizes
Use the same listed kit with a measured plan for tyres, alignment and damping changes.
Read the buying advice
The example is the same BCR-A-08 BR RH kit shown for road use. There is no separate track-day specification in this listing. Agree tyre pressures, height and alignment with the fitter, keep a record, and change the damping in measured steps. Check the event's rollover requirements for an open car before booking.
- Start with tyres and alignment
- Record changes between sessions
- Plan open-car track preparation
A cage, changed weight or competition tyre needs a separate specification discussion.
Read the buying advice
Tell us the car's weight, tyre, intended events and any aero or suspension changes. The current PP1 listing does not establish a bespoke competition spring or damper specification. We can check what is available for the build before recommending parts; no alternative motorsport kit is assumed here.
- Discuss the complete car specification
- Check adjustment access and clearance
- Confirm suitable springs and damping
The spring surrounds the rear strut.
The rear spring surrounds the damper on a standard Honda Beat PP1.
Component layout only. Mounts, dimensions and adjusters vary by kit.Honda's original chassis drawing shows a coil spring around each rear damper. The rear wheel is located by a dual-link strut arrangement.
The spring platform and any separate body-length adjustment have different roles. Use the instructions supplied with the PP1 kit to establish preload and height; winding an adjuster without identifying it first can change more than you intended.
The listed 3 kg/mm front and 4 kg/mm rear spring figures describe the springs. They do not directly state the stiffness at each tyre or predict handling balance on their own. Suspension geometry, tyres and the rest of the setup matter too.
Understand height and preload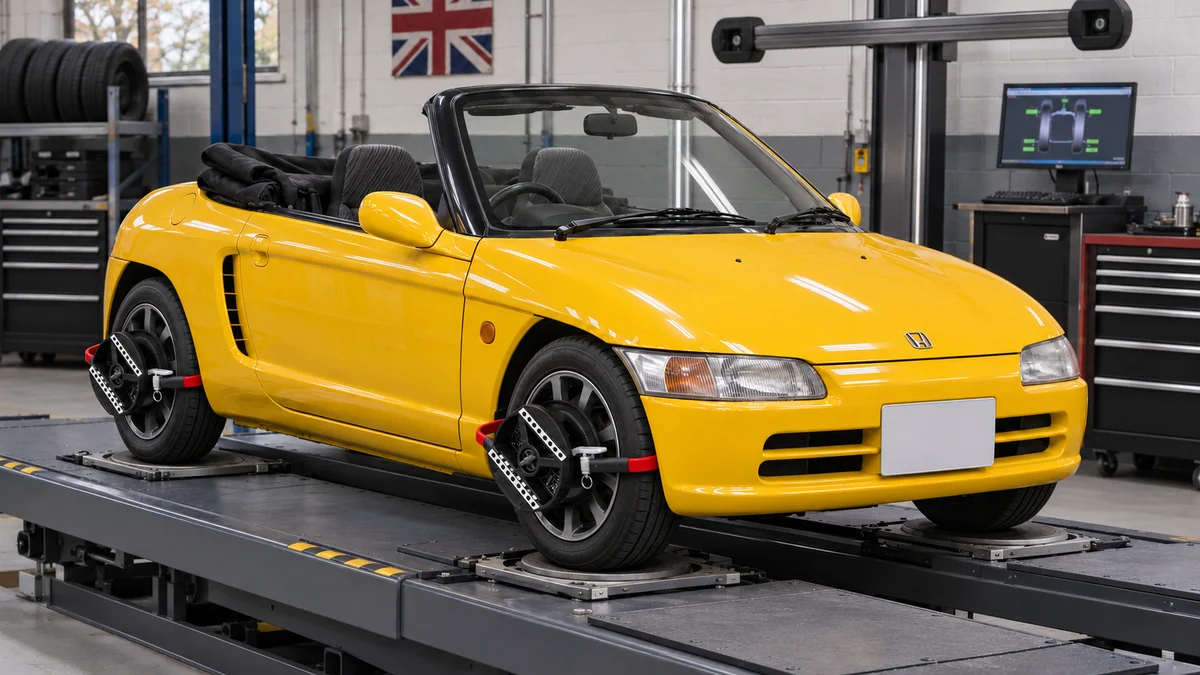
Inspect the old parts before setting the new height.
A Beat is now an older car, so include bushes, joints, mounting areas and alignment adjusters in the inspection. Deal with worn or seized parts before trying to assess the new dampers. Check the original or supplied hardware against the exact kit instructions.
Take both front and rear wheel widths, offsets and tyre sizes to the fitter. Check clearance at full steering lock and through suspension movement at the intended height. Have the final alignment measured and keep the printout with your starting damper settings.
Staggered wheels and tyres
The factory front and rear tyre sizes differ. If you change wheel diameters or widths, discuss the whole combination and its clearance. Do not copy another car's fitment from a photograph.
Mounts and noise
Pillowball mounts are part of the listed RH specification. Confirm the supplied parts and consider noise and vibration alongside the intended road use; a different mount should not be assumed available.
Height and suspension travel
Agree a measured height with the installer and check the bump-stop arrangement supplied for the kit. Keep enough travel to deal with the roads and kerbs the car will actually encounter.
Track preparation
Check braking, cooling and the event requirements as well as suspension. Changes to weight, tyres or rollover equipment belong in the setup discussion before spring and damper choices are finalised.
The current Beat PP1 range.
See the controls and hardware in the listed kit.

BCR-A-08 is the listed Beat PP1 kit. Its BR RH configuration uses pillowball top mounts, with 3 kg/mm front and 4 kg/mm rear standard springs. Height and damping are adjustable. Confirm the actual supplied hardware, adjustment range and instructions for your car before fitting.
View BC Racing Beat PP1 kitsFind your Beat PP1 coilovers.
Prices include UK VAT. Choose an application and brand, then open a kit for its current options and availability.
1 listing
Match the engine, body style and axle-load limits on the product page before ordering.
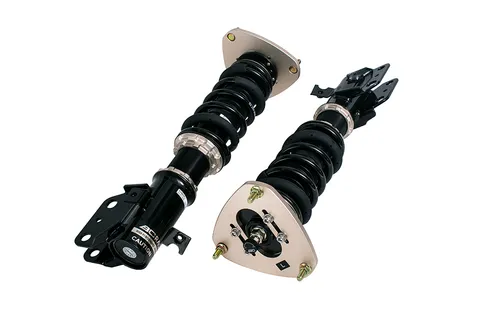
BC Racing · BCR-A-08
BC Racing Coilovers - Honda Beat (91-96) [PP1]
1991–1996 Beat: PP1
All Beat PP1 kit links and part numbers
Before you order.
Identify your car
Confirm PP1, the car's build year and its existing suspension; include import and modification details.
Match the kit
Match BCR-A-08 and the BR RH specification to the car; confirm the intended springs and damping requirements.
Check what’s included
Check the supplied pillowball mounts, bump stops and any hardware the installer must retain or replace.
Check your modifications
Provide front and rear wheel width, offset and tyre size for arch and suspension-clearance checks at the chosen height.
Plan fitting
Plan inspection, fitting and alignment together, and record the height and damping starting settings.
See what the adjustments do.
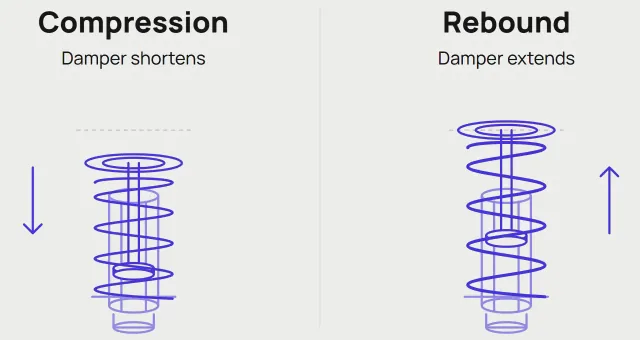
Damping adjustment explained
What combined, two-way and three-way controls change.
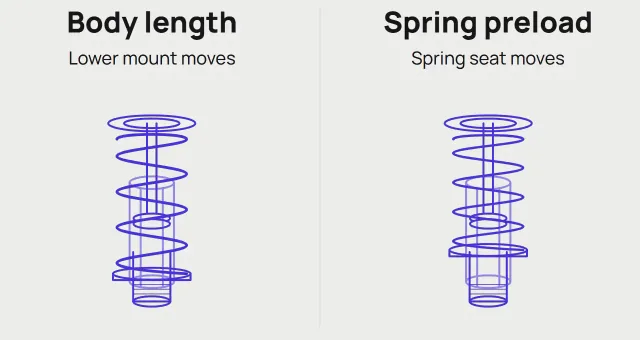
Ride height and spring preload
Understand the two adjustments before choosing a lowering range.
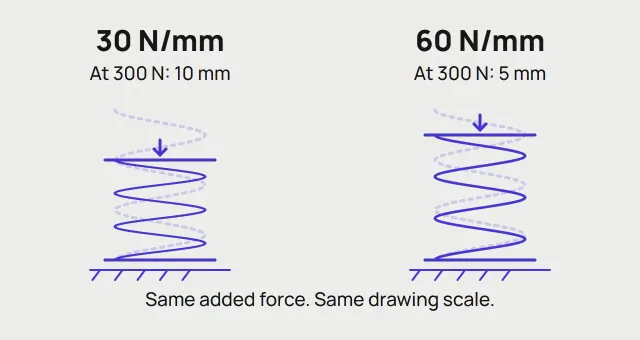
What spring rate tells you
Compare force and movement, read the units and choose a spring with the damper in mind.
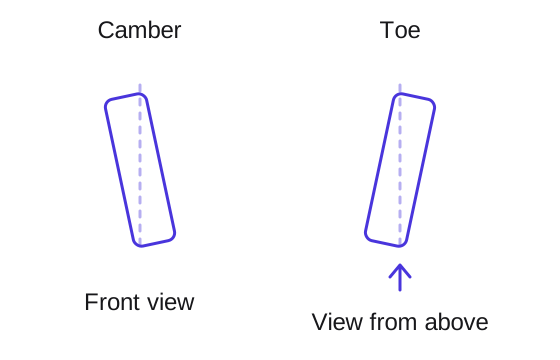
Alignment after changing ride height
Set the intended height, check the geometry and keep a useful record of the result.
Questions about Honda Beat PP1 coilovers.
Check the details before choosing your kit.
Which coilover kit is listed for the Honda Beat?
The current listing is BC Racing BCR-A-08 for the 1991–1996 PP1. The available specification is BR RH with pillowball top mounts and standard 3 kg/mm front / 4 kg/mm rear springs. Check the live product for its current configuration and availability.
Does the Beat have separate rear springs?
The standard Beat has a coil spring around each rear damper. Honda describes its rear suspension as a dual-link strut arrangement. Use the exact replacement kit's instructions for height, preload and mounting hardware.
Were the original front and rear wheels different sizes?
Yes. Honda specified 13-inch front wheels with 155/65 R13 tyres and 14-inch rear wheels with 165/60 R14 tyres. A changed wheel package needs its own clearance and setup checks.
Does the higher rear spring rate mean the rear tyres will always be stiffer?
The spring rates alone cannot establish stiffness at the tyres or predict handling balance. The suspension geometry, tyre characteristics and complete setup also affect how the car responds. Discuss changes to the listed rates with the fitter.
Will pillowball mounts feel different from rubber mounts?
Pillowball mounts can transmit more noise and vibration than compliant rubber mounts. The listed BR RH kit includes pillowball top mounts, so consider that specification for a road-driven Beat and confirm the actual supplied parts before ordering.
Is there a separate track kit in this Beat listing?
The road and track-day examples refer to the same BCR-A-08 BR RH kit. A developed competition car needs a separate discussion of weight, tyres, intended events and suitable springs and damping; the listing does not establish a bespoke competition specification.
Do I need alignment after changing the ride height?
Have the alignment checked after the final height is set and the suspension has settled. Check both front and rear wheel and tyre clearance first, then retain the alignment printout and starting damping settings.
Let’s talk suspension.
Tell us about your Beat's existing suspension, both wheel and tyre sizes, and how you drive it. We can help check the PP1 kit and discuss the setup.