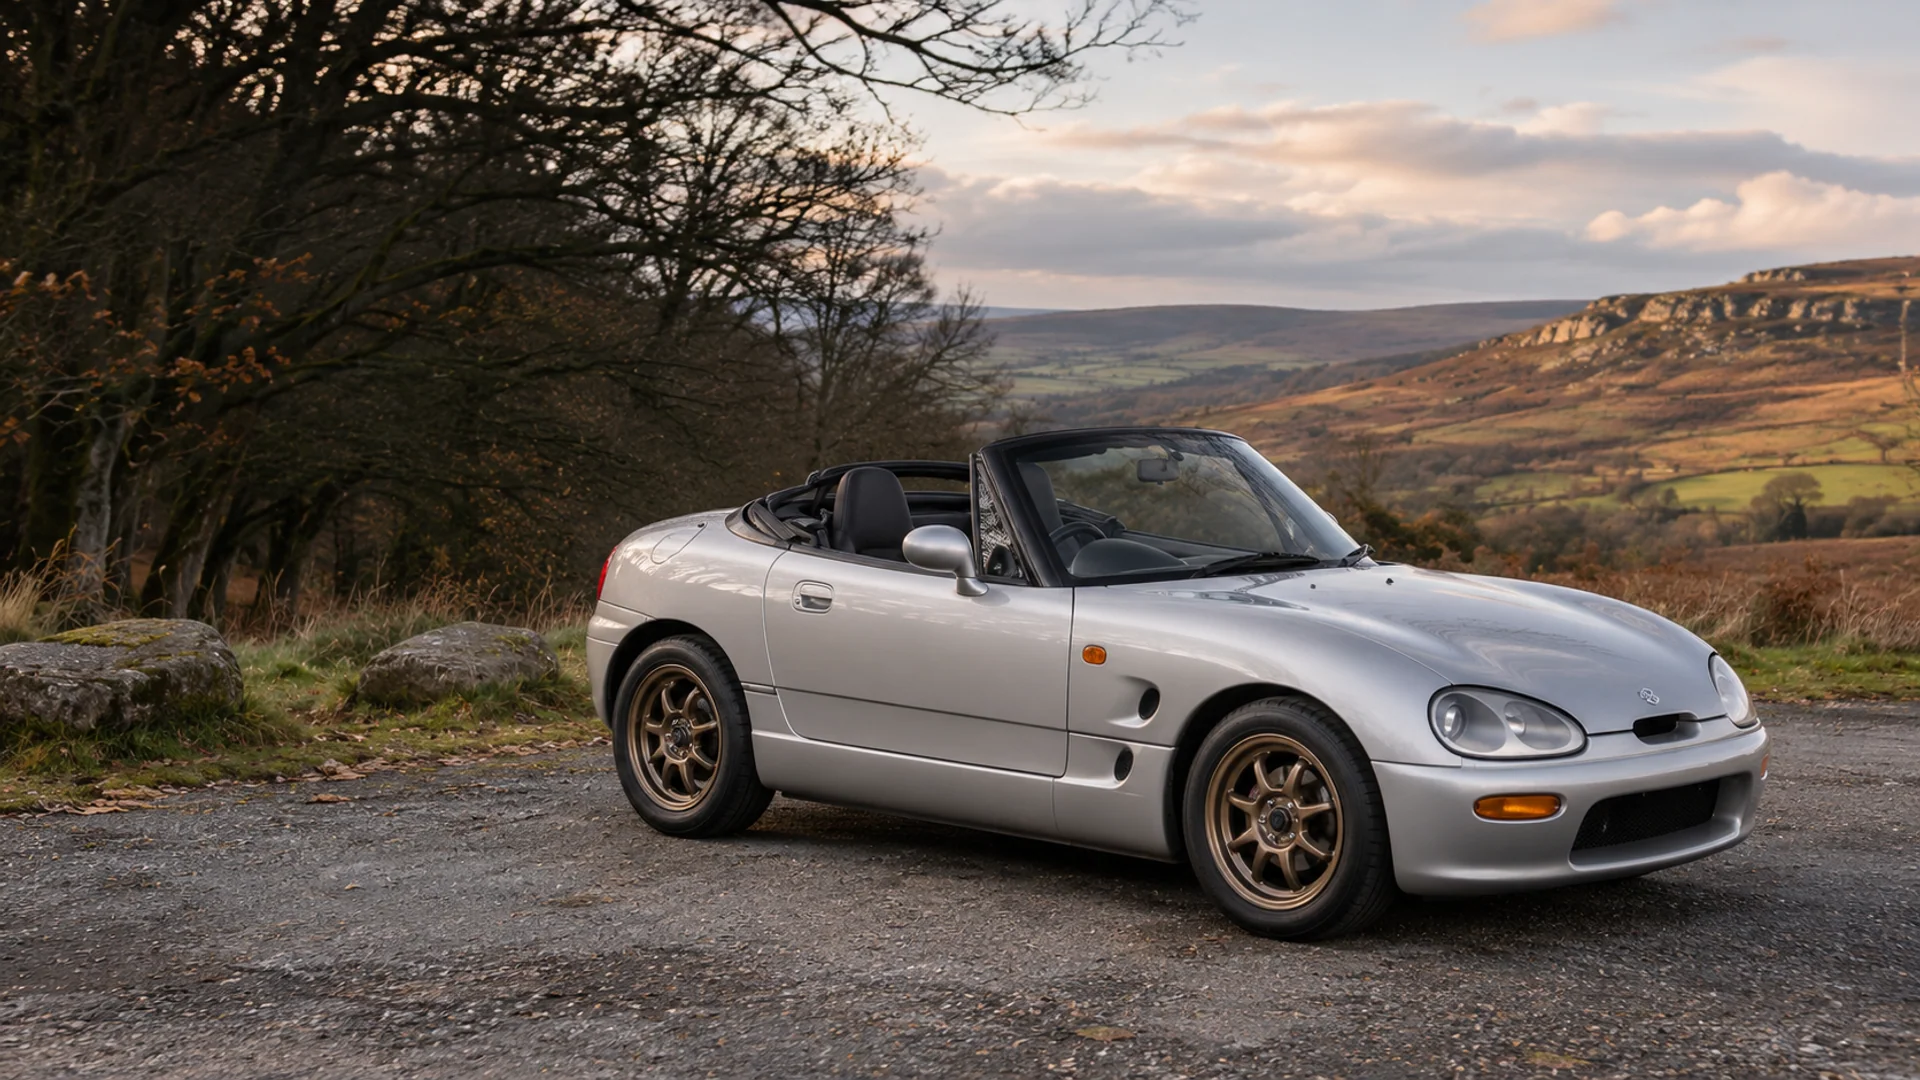
Suzuki Cappuccino.
The coilover guide.
Shop the coiloversKeep the small roadster usable on the roads you drive. Start with the chassis code, inspect the ageing hardware and choose the height with your wheels and tyres in mind.
A small roadster with proper suspension.
A Cappuccino suspension job starts with the condition of the car. Worn bushes, tired mounts or seized adjusters need attention alongside new dampers. Decide what you want to change about the height or damping once the inspection is complete.
Our current range has one BC Racing BR RS listing, BCR-L-02, with rubber top mounts and listed 4 kg/mm front / 3 kg/mm rear springs. It is a starting point for an early EA11R. The later EA21R needs an application check because the supplier table uses a different second chassis code.
Suzuki launched the Cappuccino in Japan in November 1991. The early EA11R put a turbocharged F6A three-cylinder engine ahead of the cabin and drove the rear wheels. Its double-wishbone suspension at both ends was part of the original design.
The removable roof offered several ways to drive open, from a T-bar arrangement to the complete open cabin. Suzuki listed the early car at 3,295 mm long and 1,395 mm wide. Wheel and tyre changes deserve careful planning on such a compact body.
The 1995 update brought the aluminium K6A engine and a three-speed automatic option. Monster Sport identifies that later car as EA21R, following the F6A-powered EA11R. Check the frame plate and actual gearbox on an import; a UK registration year alone cannot identify its specification.
Model history: Suzuki: Cappuccino digital historySuzuki: early EA11R specificationsMonster Sport: frame-code chronology.
Start with your Cappuccino.
Confirm the chassis, year and existing suspension before choosing your setup.
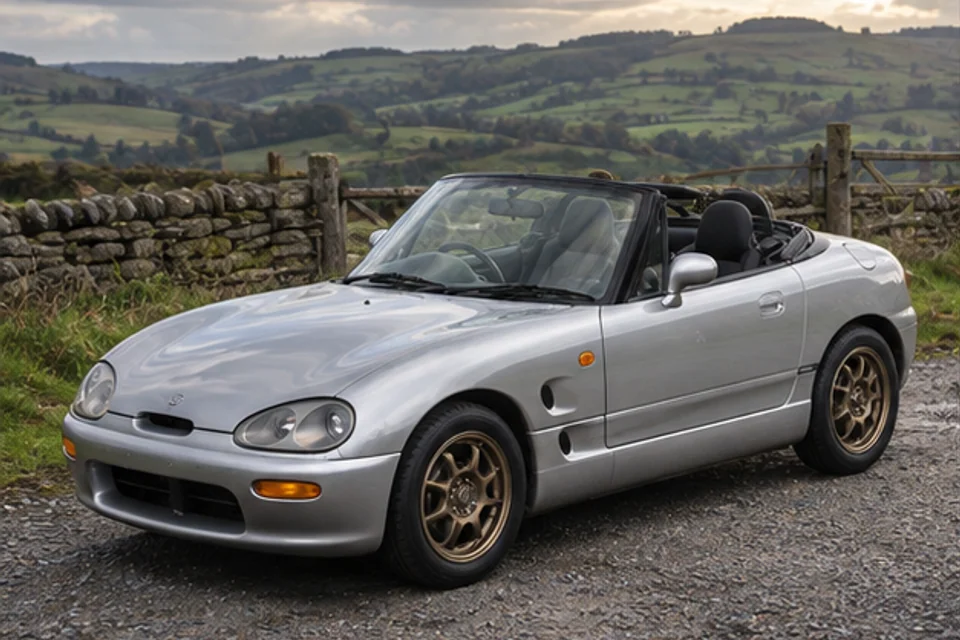
Early EA11R with F6A engine
The named L-02 kit and the manufacturer application table both identify EA11R. Confirm the full chassis code, original market and existing suspension before ordering. The road-car listing has rubber mounts and a specific spring package; inspect what is already fitted.
View the EA11R starting kit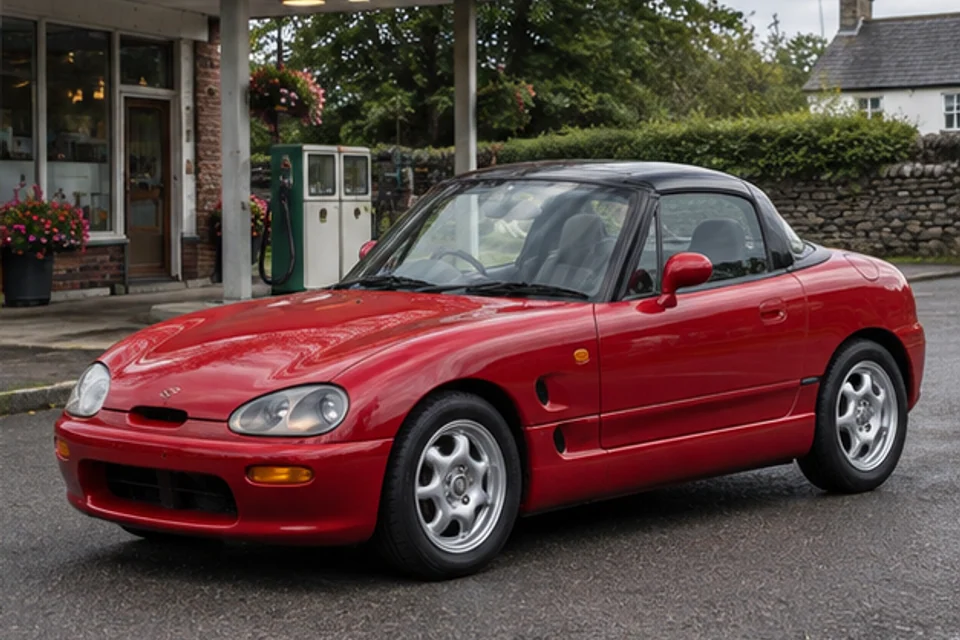
Later EA21R with K6A engine
Suzuki and Monster Sport identify the later K6A car as EA21R. The BC listing instead says EA11R/EA12R. We need that mismatch resolved for your car before confirming the kit, even though its year range extends to 1998.
Check my EA21R application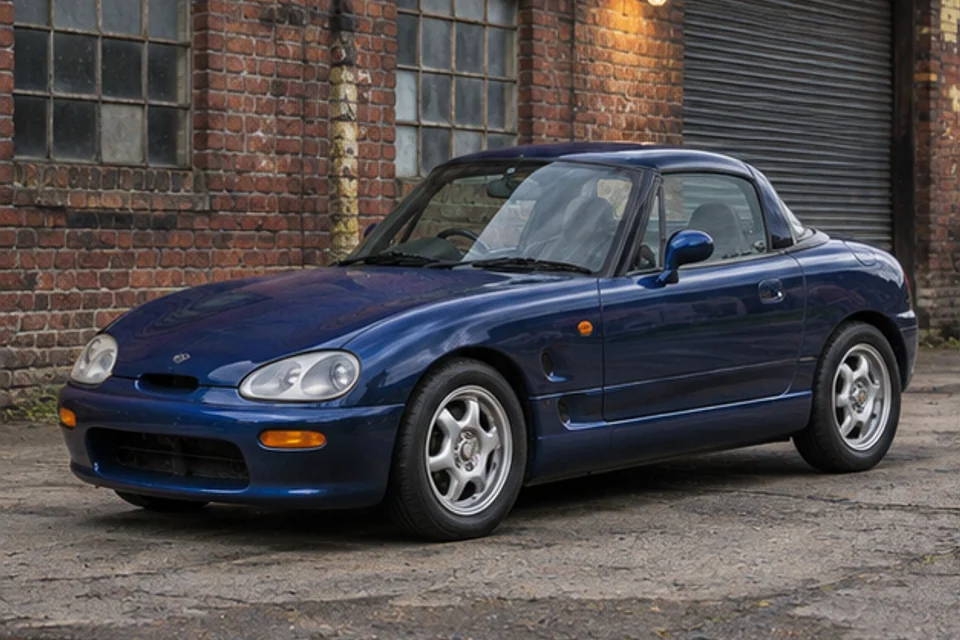
Automatic imports
The three-speed automatic arrived with the later update. Give us the frame code and gearbox details so the application and spring specification can be checked together. A general Cappuccino year range is insufficient confirmation.
Ask about my automatic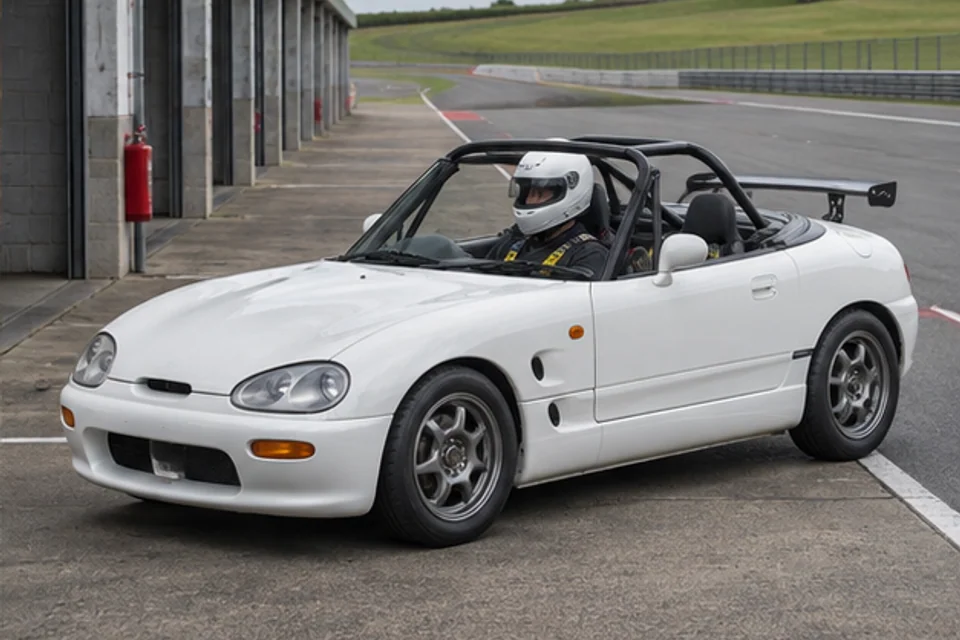
Converted and competition cars
An engine conversion, cage, substantial weight change or different suspension arms needs an individual specification. Tell us the tyres and intended events too. The one road-car listing does not establish a competition package for every modified Cappuccino.
Discuss my modified CappuccinoWhat do you want
from the car?
Road miles, circuit weekends or a car built around the lap. Start with how you drive.
Use a practical height and retain the rubber-mount arrangement.
Read the buying advice
BCR-L-02 is the current BR RS option, with rubber top mounts and listed springs of 4 kg/mm at the front and 3 kg/mm at the rear. For an EA11R road car, plan usable travel, tyre clearance and an alignment at the finished height. Check the exact supplied hardware before fitting. Replacing worn joints and mounts belongs in that same plan.
- Rubber top mounts
- Listed 4 front / 3 rear kg/mm springs
- Plan road clearance and travel
The same listed kit, with the preparation recorded more carefully.
Read the buying advice
BC describes BR as suitable for road driving and occasional circuit use. That does not select springs or settings for your car. With the same BCR-L-02 starting kit, record tyre pressures, damper settings and alignment, then make changes methodically. Check the event’s roll-over requirements and driver clearance before booking an open car onto a circuit. Confirm later EA21R fitment separately.
- Same named road-car kit
- Record tyres, alignment and settings
- Check open-car event requirements
Discuss the whole build before selecting a suspension specification.
Read the buying advice
We do not have a verified bespoke competition kit listed for this car. Send the chassis code, engine and weight changes, tyre specification and intended ruleset. Springs and damping need to be considered together with the car’s travel and geometry. The right next step is an application discussion with the installer and supplier.
- Provide the complete build specification
- Confirm the event rules
- Discuss springs, travel and damping
Double wishbones. A spring around the damper.
The rear spring surrounds the damper on a standard Suzuki Cappuccino.
Component layout only. Mounts, dimensions and adjusters vary by kit.Suzuki specified double wishbones at both ends of the Cappuccino. The early EA11R rear parts drawing shows the coil spring assembled around the shock absorber, above its spring seat. The suspension arms locate the wheel; this is not a MacPherson strut layout.
Follow the exact replacement kit’s instructions for preload and height. Keep enough travel for the intended road or circuit, then check the tyre, brake hose and suspension clearances through movement. A spring-rate number on its own does not describe the wheel rate or the finished handling.
Inspect the arms, bushes and alignment adjusters while the car is apart. Establish how camber and toe will be set on the actual car; a generic promise of camber-adjustable top mounts does not describe this double-wishbone installation.
Understand height and preload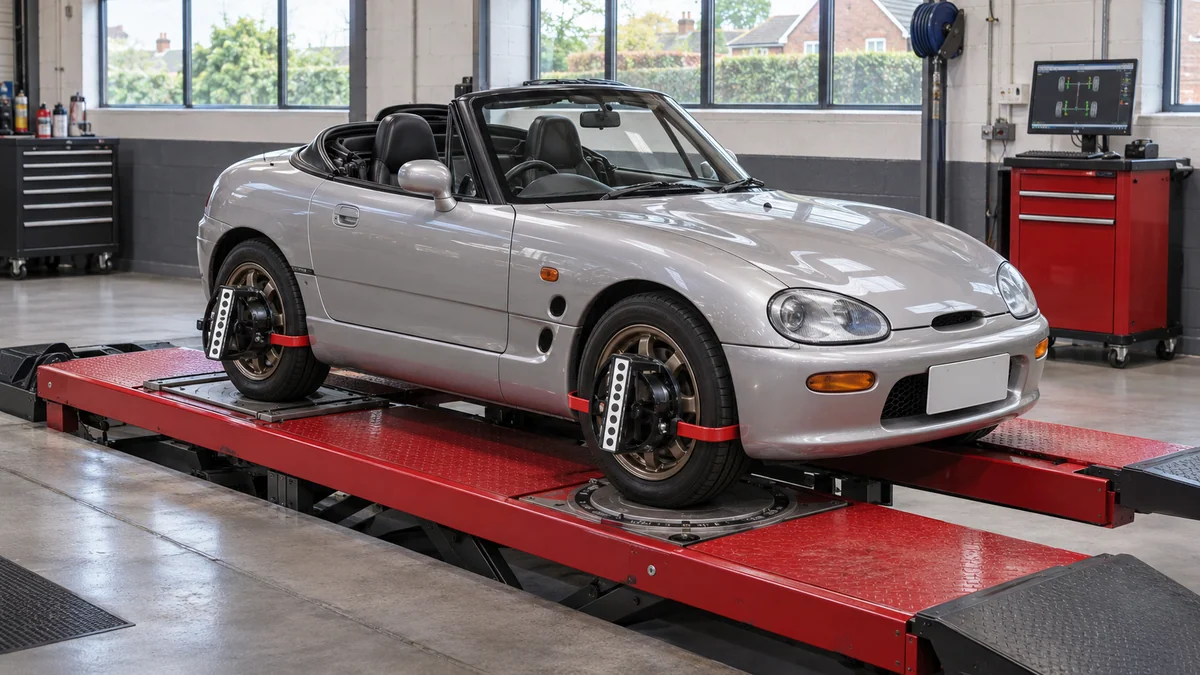
Make the fitting plan before lowering it.
Suzuki’s early Japanese specification lists 165/65 R14 tyres. Record the wheels and tyres fitted now, including widths and offsets. Larger or wider wheels need clearance checks through steering and suspension movement at the intended height.
Arrange an inspection of the mounting points, bushes, joints and fasteners before fitting. Check adjuster access with the roof and any cage in place. Set the chosen height before the final alignment and retain the printout with the damper settings.
Wheels and the small wheel arches
Give the fitter the actual front and rear widths, offsets and tyre sizes. Check both inner suspension clearance and the bodywork through movement. A photograph of another lowered Cappuccino cannot establish a suitable height for your wheels.
Bushes, joints and mounting points
Have the existing suspension and its mounting areas inspected before choosing the final fitting date. Identify worn parts, damaged fixings and seized adjusters early so the alignment can be completed after installation.
Engine conversions and weight changes
Record the engine, gearbox, cage and equipment that will remain in the car. A spring package listed for the original roadster needs an application discussion when the build changes its weight or suspension hardware.
Roof, roll-over provision and access
Check the intended event’s requirements for an open car and the driver’s seating position. Confirm damper-adjuster access around any cage or roof equipment. A suspension purchase alone does not settle circuit eligibility.
The current Cappuccino range.
See the controls and hardware in the listed kit.

The current selection is BR RS BCR-L-02 with rubber top mounts and the listed 4 kg/mm front / 3 kg/mm rear springs. BR has one damping adjustment controlling compression and rebound together, plus ride-height adjustment. The catalogue’s second chassis code needs clarification for an EA21R; no other series or bespoke competition package is established by this listing.
View BC Racing Cappuccino kitsFind your Cappuccino coilovers.
Prices include UK VAT. Choose an application and brand, then open a kit for its current options and availability.
1 listing
Match the engine, body style and axle-load limits on the product page before ordering.
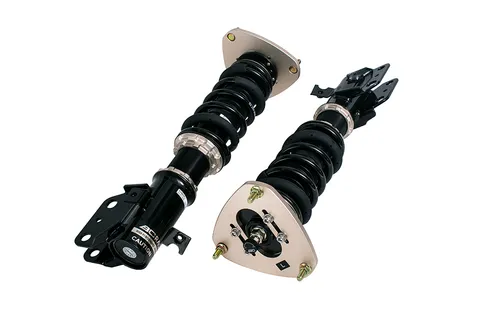
BC Racing · BCR-L-02
BC Racing Coilovers - Suzuki Cappuccino (91-98) [EA11R/EA12R]
Early EA11R with F6A engine
All Cappuccino kit links and part numbers
Before you order.
Identify your car
Read the frame plate and confirm EA11R or EA21R, engine, gearbox and original market.
Match the kit
Match BCR-L-02 to the actual application; resolve the later chassis-code mismatch before ordering.
Check what’s included
Confirm the supplied mounts and spring package, then list any worn hardware to replace.
Check your modifications
Provide wheel widths, offsets and tyre sizes for travel and clearance checks.
Plan fitting
Arrange inspection, fitting and alignment; retain the measurements and damper settings.
See what the adjustments do.
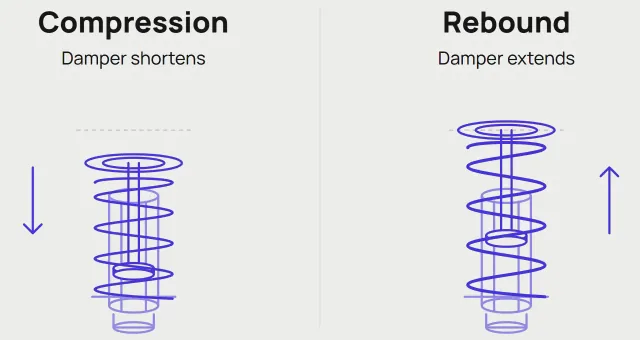
Damping adjustment explained
What combined, two-way and three-way controls change.
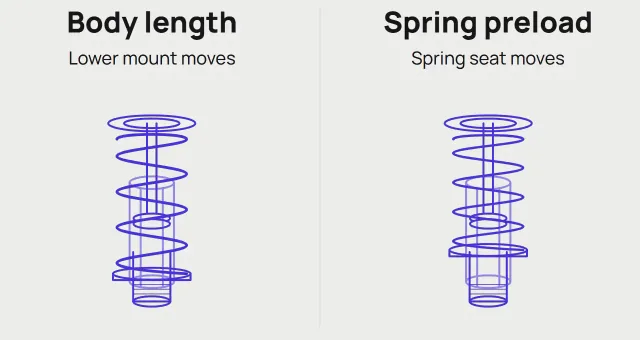
Ride height and spring preload
Understand the two adjustments before choosing a lowering range.
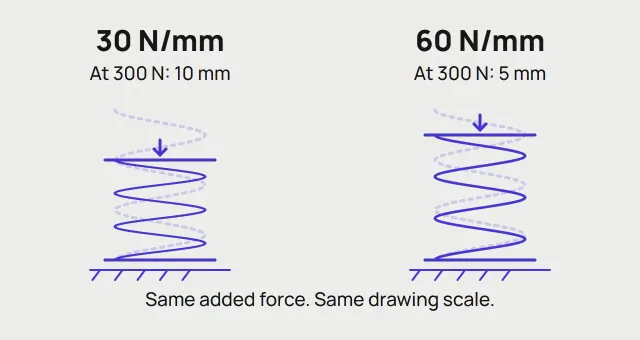
What spring rate tells you
Compare force and movement, read the units and choose a spring with the damper in mind.
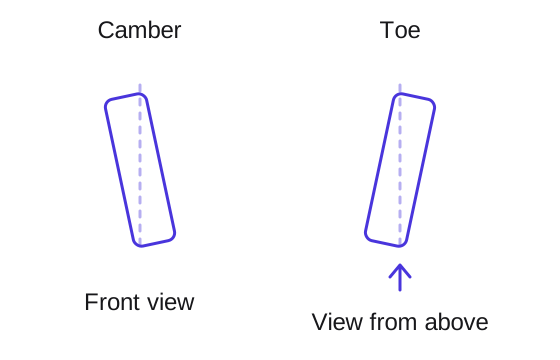
Alignment after changing ride height
Set the intended height, check the geometry and keep a useful record of the result.
Questions about Suzuki Cappuccino coilovers.
Check the details before choosing your kit.
Which coilover kit is currently listed for the Cappuccino?
The current range has one BC Racing BR RS listing, BCR-L-02. It has rubber top mounts and listed 4 kg/mm front / 3 kg/mm rear springs. Open the product for its current configuration and availability, and confirm the actual chassis before ordering.
Does EA12R in the listing mean my later EA21R?
That has not been confirmed. BC’s application table and the current product title say EA11R/EA12R, while Suzuki and Monster Sport identify the later K6A Cappuccino as EA21R. Ask for the exact application to be checked; we do not treat those codes as interchangeable.
Can an automatic Cappuccino use this kit?
The automatic belongs to the later model specification, so its frame code, gearbox and the supplier application need checking together. A broad 1991–1998 model range does not confirm automatic-car compatibility.
Is the Cappuccino rear spring separate from the damper?
The early EA11R rear assembly has its spring around the damper. Suzuki specifies double wishbones at both ends; the arms locate the wheels. Follow the exact kit’s instructions for its mounts, preload and height.
Are 4 kg/mm front and 3 kg/mm rear the right rates for every build?
Those are the springs named in the current listing. They are not a universal recommendation for a car with an engine conversion, cage, substantial weight changes or different competition tyres. Discuss those changes before settling the spring and damper specification.
Does BR have separate compression and rebound controls?
BR uses a combined damping adjustment. It does not provide independent compression and rebound controls. Establish a baseline from the kit instructions and keep a record when making changes.
How much should I lower a Cappuccino?
There is no single figure established here for every kit and wheel combination. Follow the chosen kit’s limits, preserve usable travel and check clearance through steering and suspension movement before final alignment.
Why do the road and track-day cards show the same kit?
Only one current kit is listed. The two cards describe different preparation priorities around that same starting product. A developed competition car needs a separate specification discussion; no extra kit or championship approval is implied.
What should be checked while the suspension is being fitted?
Inspect mounting areas, bushes, joints, fasteners and alignment adjusters. Confirm tyre and hose clearance at the chosen height, check access to the damper controls, and arrange the final alignment after the height is set.
Let’s talk suspension.
Tell us the frame code, gearbox, wheels and any changes to your Cappuccino. We can check the listed application and help plan what needs confirming before fitting.